My Dream Homelab
Published Dec 10, 2026
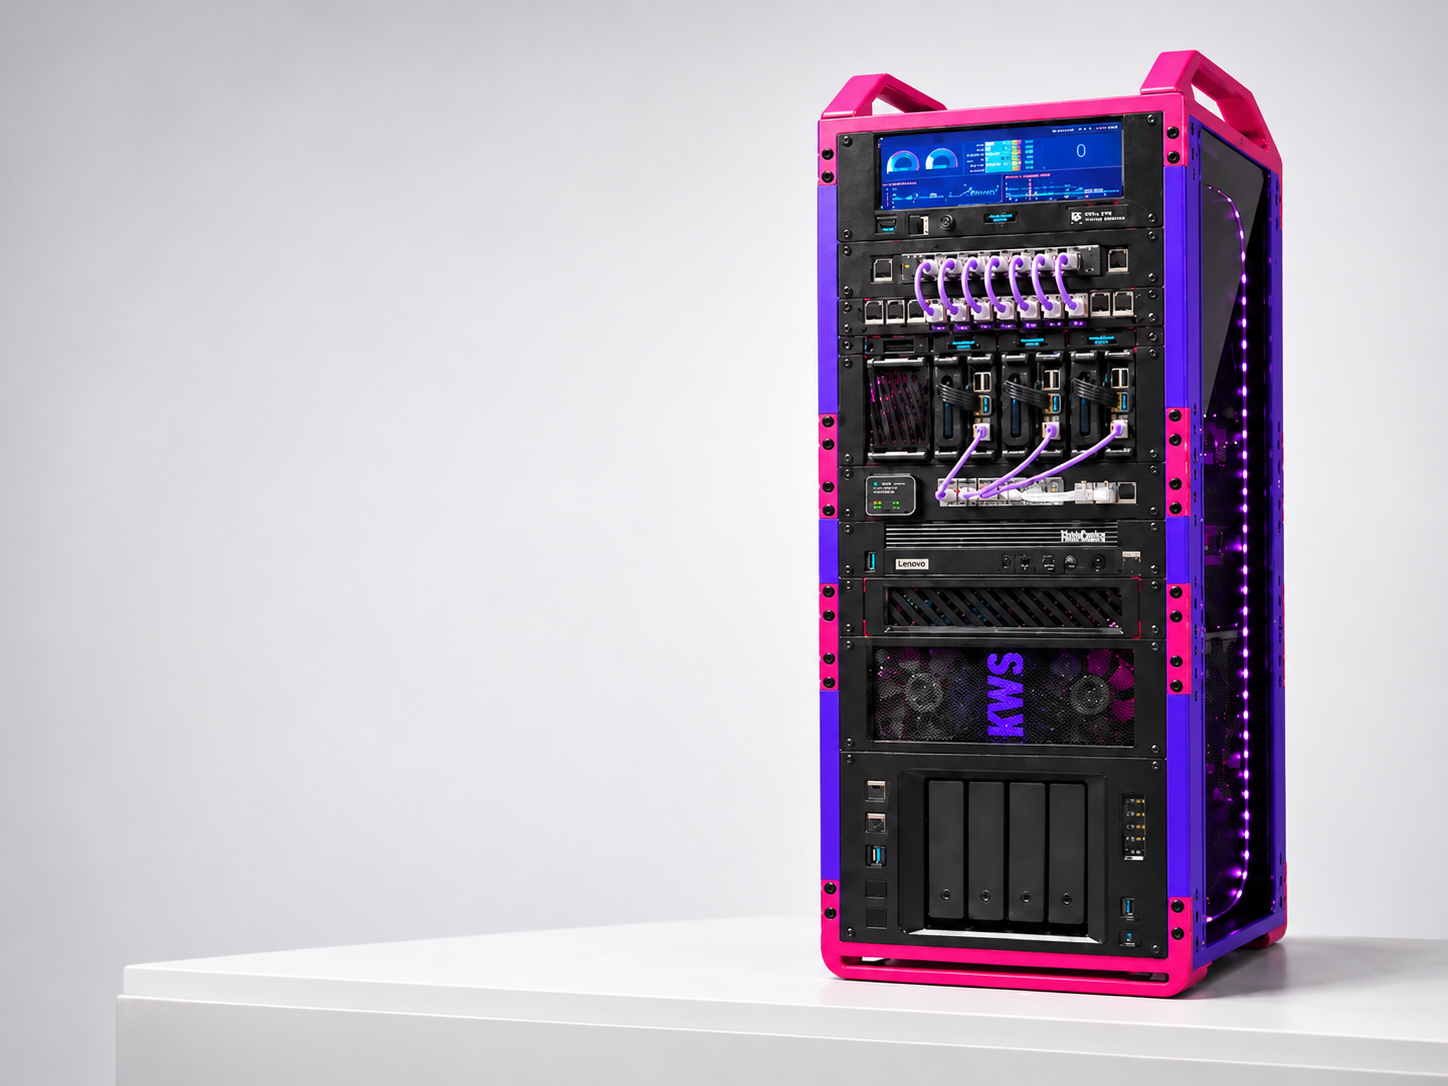
Note: the components listed below are not all in the above picture.
Table of Contents
- What is a Homelab anyway?
- 10-inch Homelab Shopping List
- Core computing
- Rack, mounting, and networking
- Storage and backup
- Power and cooling
- What’s running where?
- Estimated budget
- Software roles
- Initial checklist
- Why a Home Lab?
What is a Homelab anyway?
A homelab is a private, secure, computer lab in your home for testing, experimenting, developing or running local LLMs. It can be a media server, provide network storage, maintain a firewall for your home network and create multiple networks for your home such as a guest network, remote access network and a private network.
It is a playground for doing nerdy, technical stuff safely so you don’t shoot your eye out.
I learned about homelabs from this youtube video.
10-inch Homelab Shopping List
Concept: a compact 10-inch homelab built around an Apple Mac Studio, a Raspberry Pi 5, multi-gigabit networking, and NAS storage. The pink/purple reference rack in the above photo is a 3-d printed rack from KWS Labs. See MakerWorld.
Core computing
Apple Mac Studio — M5 Ultra
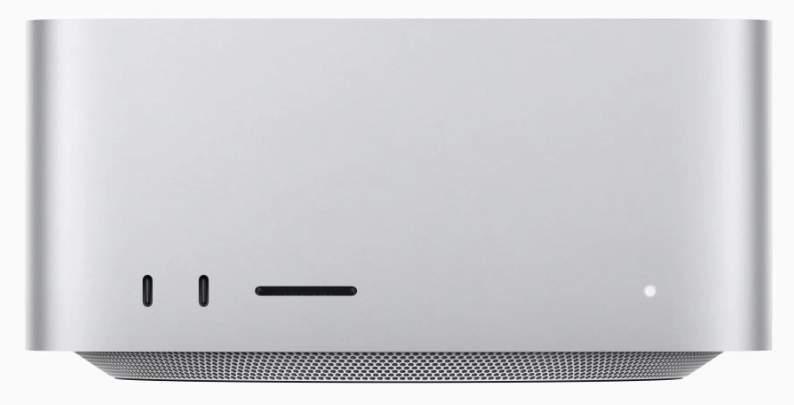
- Suggested starting configuration: M5 Ultra, 512GB unified memory, 16TB SSD.
- U.S. starting price used for this estimate: $29,499.
- Recommended upgrade: 512GB unified memory for running local AI models, large datasets, or several demanding development workloads are priorities so max it out in the beginning. I’m considering a larger internal SSD for more local working space; external Thunderbolt storage could be another option.
- Role: primary development workstation, local AI/ML, data science, builds, and heavier compute workloads.
- Networking: built-in 10Gb Ethernet.
- Official links: Mac Studio · Technical specifications
Rack fit warning: Mac Studio is approximately 7.7 × 7.7 × 3.7 inches (W × D × H). Check the rack’s usable internal width and depth, shelf dimensions, cable clearance, weight rating, and airflow before ordering. Allow at least 3U of vertical space and do not enclose its ventilation openings. If the rack is too cramped, place the Mac Studio beside the rack and connect it over Ethernet/Thunderbolt.
Raspberry Pi 5 — 8GB
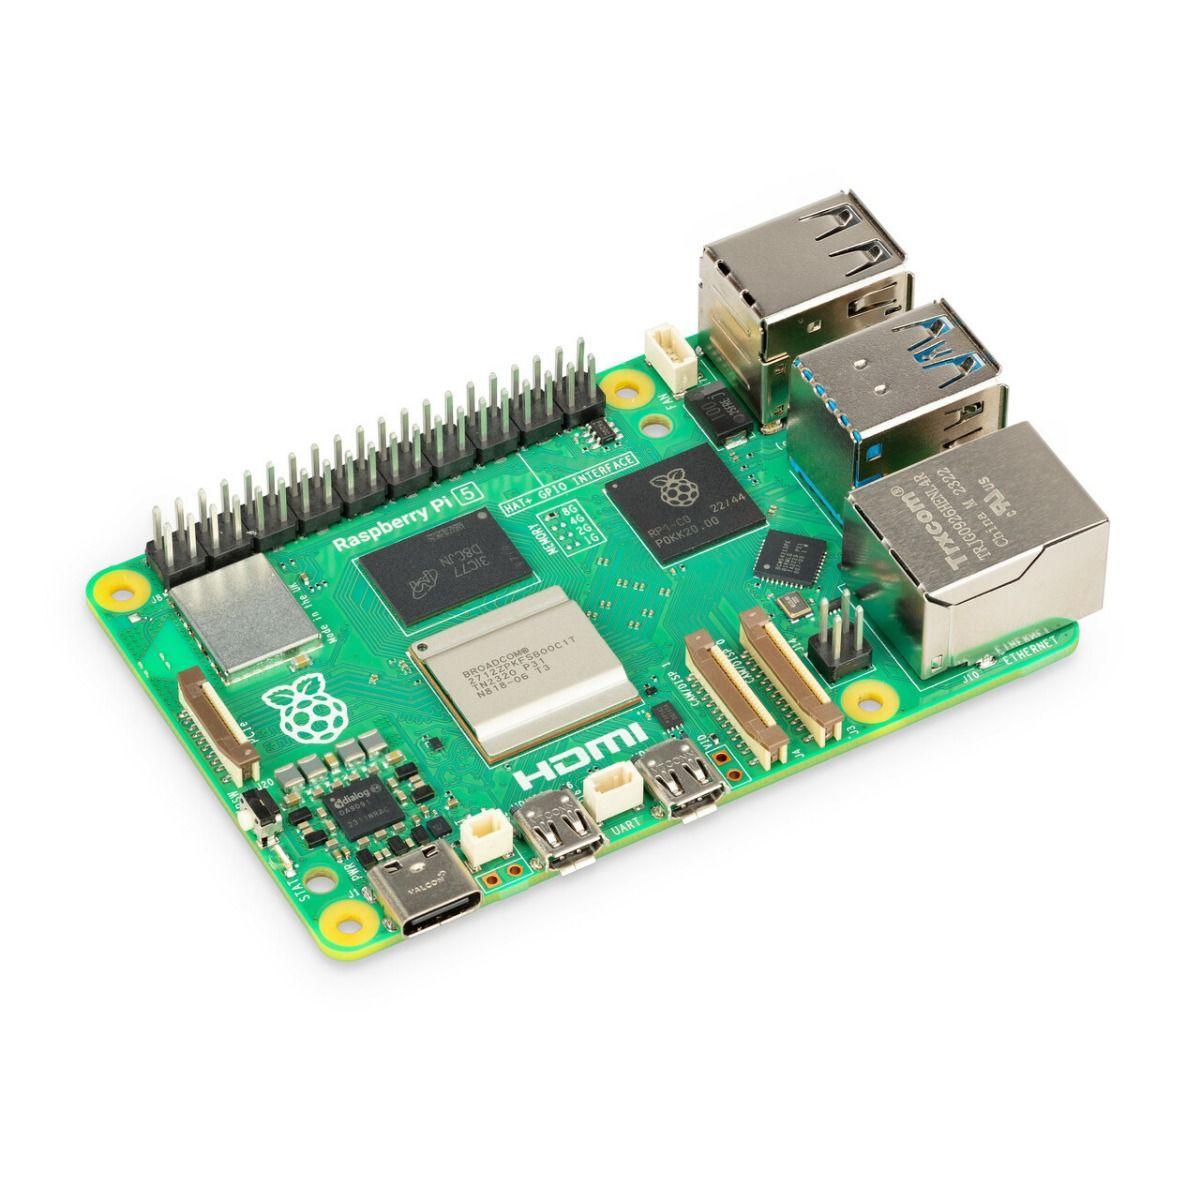
- Board: Raspberry Pi 5, 8GB RAM.
- Planning allowance: about $95 for the board; retailer pricing and availability vary.
- Accessories: official 27W USB-C power supply, Active Cooler, M.2 HAT+ (or compatible PCIe/NVMe adapter), and a 256GB NVMe SSD.
- Role: always-on Linux services, Docker containers, DNS/Pi-hole, monitoring, lightweight automation, and Home Assistant.
- Planning allowance for accessories/storage: approximately $85–$155, depending on SSD and adapter choice.
- Official links: Raspberry Pi 5 · Raspberry Pi products and accessories
Rack, mounting, and networking
| Item | Suggested choice | Budget estimate | Notes |
|---|---|---|---|
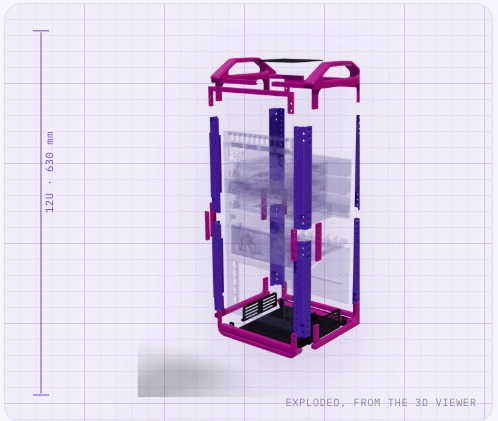
| Rack frame | KWS Lab Rack V2, 10-inch format | Varies | 3D-print or source the rack parts; confirm exact revision and print material. MakerWorld design |
| Ethernet switch | TRENDnet TEG-S381, 8-port 2.5GbE | ~$200 | Compact multi-gigabit option. Verify current price and whether you need managed/VLAN features before buying. Manufacturer page |
| Patch panel | 10-inch, 1U, 12-port Cat6 keystone panel | ~$25 | Use replaceable keystone jacks and short patch cables. DeskPi Rackmate example |
| Mac Studio shelf | Vented 10-inch shelf sized for the Mac Studio | ~$38 | Confirm usable width/depth and load rating; a generic shallow shelf may not fit. |
| Raspberry Pi mount | 10-inch rack mount compatible with Pi 5 and its HAT | ~$40–$91 | Ensure the mount accommodates the selected cooler, HAT, and NVMe drive. |
| Patch cables | Short Cat6/Cat6a cables | ~$15–$30 | Choose lengths that avoid tight bends and obstructed airflow. |
Network speed note
The Mac Studio has 10Gb Ethernet which drives the more expensive 10GbE switch. We also want fast NAS transfers so we choose a switch with 10GbE uplinks or a 10GbE-capable switch and verify that the NAS also supports the intended speed. The Synology NAS has 2.5GbE ports unfortunately and when they come out with 10GbE it will of course be more expensive.
Storage and backup
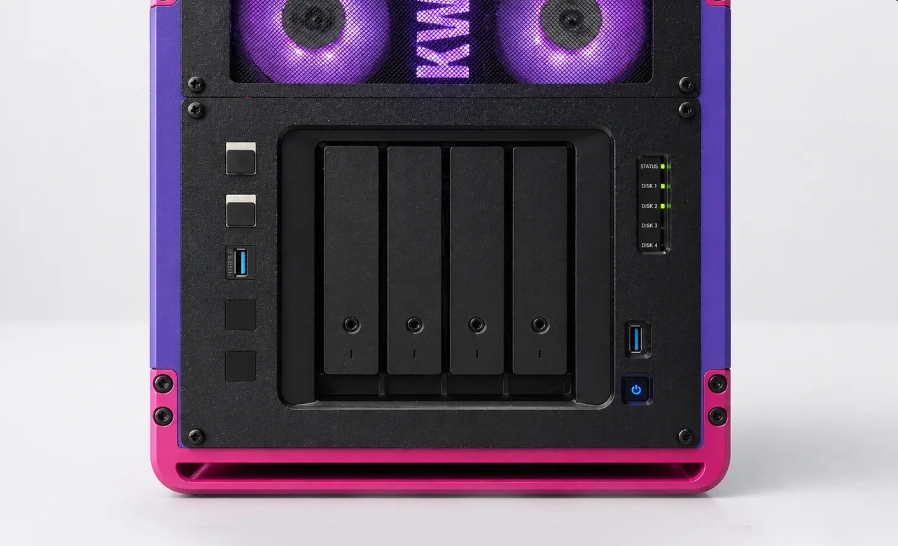
- NAS example: Synology DS425+ four-bay NAS
- NAS enclosure planning allowance: approximately $600–$800, depending on model and condition.
- Drives: start with 4 × 8TB NAS-rated drives in a mirror if you want redundancy; add drives later as capacity needs grow. Drive costs are additional and fluctuate substantially especially with current memory/chip shortages.
- Role: shared datasets, project files, backups, media, and container/application storage.
- Example product information: Synology DiskStation DS425+ spec overview. Here is a review
A RAID mirror is not a backup by itself. Keep a separate backup copy, ideally including an off-site or cloud copy for irreplaceable data.
Remember the 3-2-1 backup rule: 3 Total Copies: Keep three total copies of your data (1 original working copy and 2 separate backups); 2 Different Media: Store these copies on two different types of media or storage devices (for example, your computer/workstation plus a Synology NAS or external hard drive); 1 Off-Site Copy: Keep at least one backup copy off-site (such as in the cloud - AWS S3 Glacier - or at a remote location/secondary NAS)
Power and cooling
| Item | Suggested choice | Budget estimate |
|---|---|---|
| UPS | APC or CyberPower, approximately 1000–1500VA | $150–$250 |
| PDU / surge protection | Rack-compatible power distribution | $30–$60 |
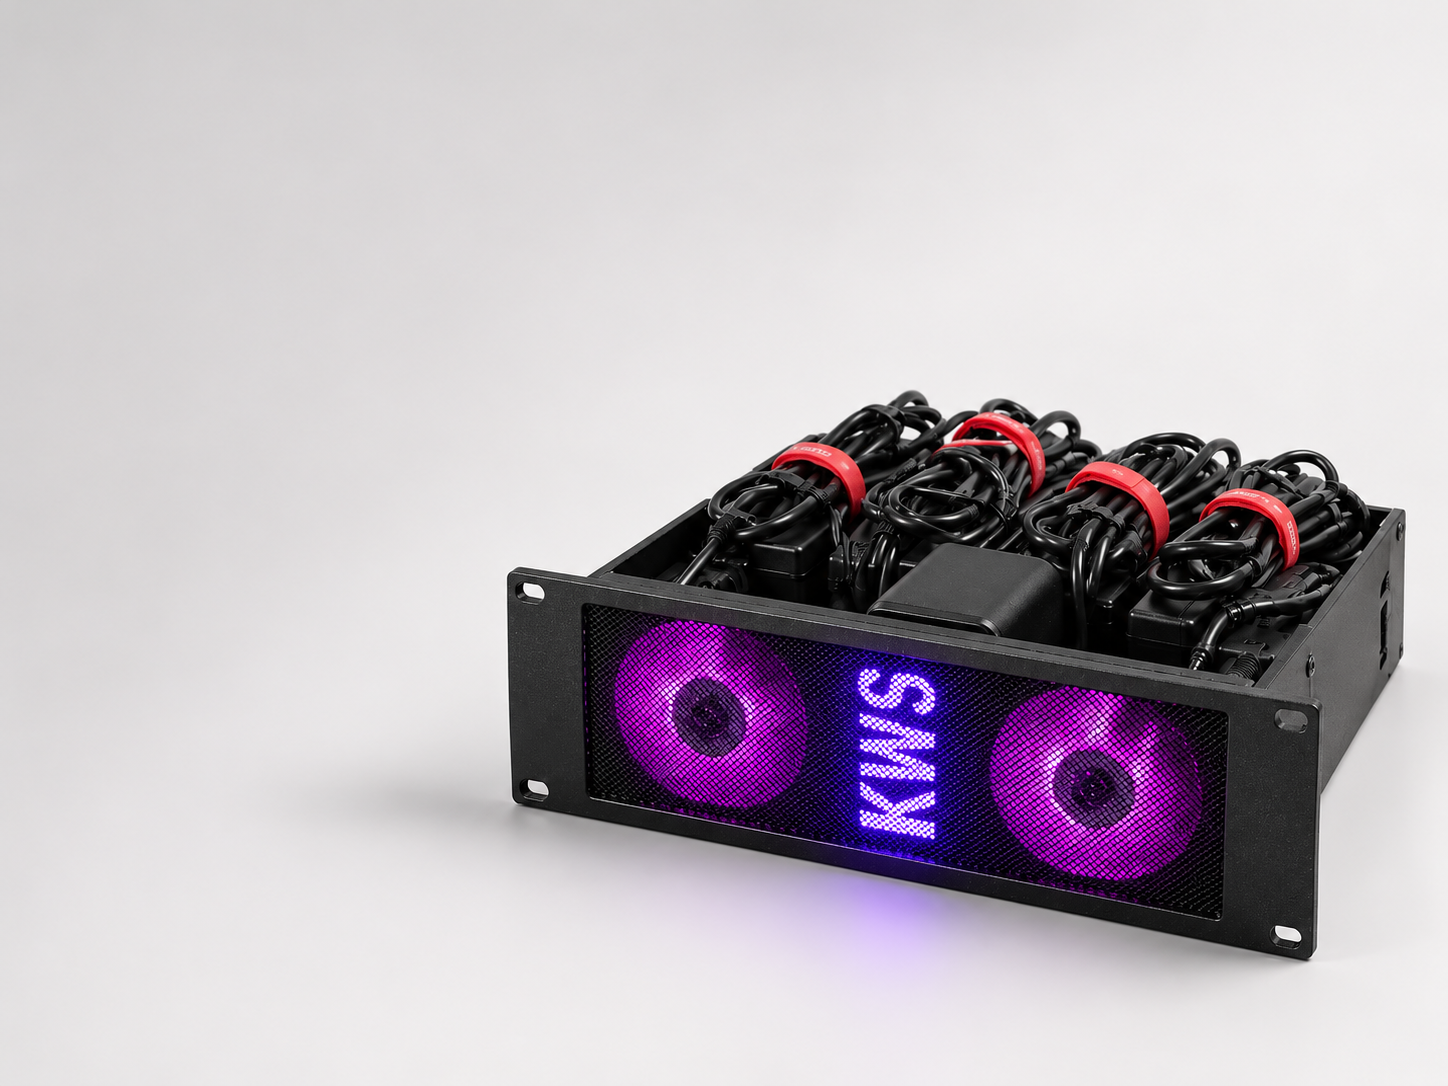
| Cooling | 40mm fan panel or appropriately sized quiet fans | $25–$40 |
| Temperature monitoring | Pi-compatible temperature sensor | $10–$20 |
| LED accent lighting | Low-voltage purple LED strip | $10–$20 |
A UPS may be too large for a 10-inch rack; placing it beside or below the rack is perfectly reasonable. Size the UPS for the actual load and desired runtime. Keep fan intakes and exhausts unobstructed.
Here’s a list of equipment and roles or software
| Equipment | Role/Software |
|---|---|
| Mac Studio | Primary development workstation, local AI, Xcode, data science |
| Raspberry Pi | Pi-hole, monitoring, DNS, lightweight Docker |
| NAS | Shared datasets, backups, media, file storage |
| Network switch | 10GbE connectivity |
| Additional Raspberry Pi | Home Assistant, automation, testing |
What’s running where?
The following is a conceptual order, not a guaranteed fit. Actual U-height, shelf depth, cooling, and cable routing depend on the chosen rack revision and hardware.
| Rack Position (top to bottom) | Equipment |
|---|---|
| Top | LCD monitoring/status panel |
| 1–2U | 10GbE switch |
| 1U | 12-port keystone patch panel |
| 2U | Raspberry Pi 5 with NVMe and rack mount |
| 3U or more | Vented Mac Studio shelf, if the rack’s internal dimensions permit |
| 1U | Cooling fan assembly |
| Bottom / adjacent shelf | NAS; may be better placed outside the 10-inch rack |
| Beside or below rack | UPS |
Estimated budget
Core build (with NAS enclosure, NAS drives, and UPS)
| Category | Planning estimate |
|---|---|
| Mac Studio M5 Ultra maxed out configuration | $23,799 |
| Raspberry Pi 5 and accessories | $180–$250 |
| Rack and mounting hardware | $100–$200 |
| Networking and patch panel | ~$225 |
| Cooling, lighting, and PDU | $100–$150 |
| NAS enclosure | $600–$800 |
| 4 WD Red plus 8TB NAS-rated drives (5640 RPM are quieter) | $354.99 each |
| UPS | $150–$250 |
| Estimated core total | $27,093.96 |
Cost Thought: Too much but we are dreaming, right?
Software roles
| Hardware | Suggested role / software |
|---|---|
| Mac Studio | SvelteKit development, Docker, local AI with MLX/Ollama/LM Studio, data science, databases, and heavier workloads |
| Raspberry Pi 5 | Pi-hole/DNS, monitoring, Home Assistant, lightweight Docker services, and automation |
| NAS | Shared files, project datasets, snapshots, and backup target |
| Network switch | Wired connectivity between Mac, Pi, NAS, and other devices |
Initial checklist
- Confirm Mac Studio memory and SSD configuration.
- Measure the rack’s internal clear width, depth, and usable U-height.
- Confirm Mac Studio shelf dimensions, ventilation, and load rating.
- Select Raspberry Pi power supply, cooler, HAT, and NVMe SSD as a compatible set.
- Decide whether 2.5GbE is sufficient or whether 10GbE switching is needed.
- Confirm whether the switch needs VLANs or other managed features.
- Choose NAS model and drive capacity; budget for a separate backup.
- Size the UPS for the real equipment load and desired runtime.
- Determine rack kit’s configuration.
- Find 3-d printer to rent.
- Purchase filaments.
- Start small with either NAS drive or firewall appliance.
- LCD monitor can be last purchase.
- Document everything in Obsidian including this post.
Why a Home Lab?
Why do I want to do this? This home lab will help be build a capable environment to:
- Code in SvelteKit.
- Self-hosting.
- Experiment with Docker and Kubernetes.
- Play with PostgreSQL and other databases.
- Local AI using Ollama or MLX or LM Studio.
- Data engineering and visualization.
- Home automation and network monitoring.
- Create Digital Artwork.
- And it’s pretty cool.